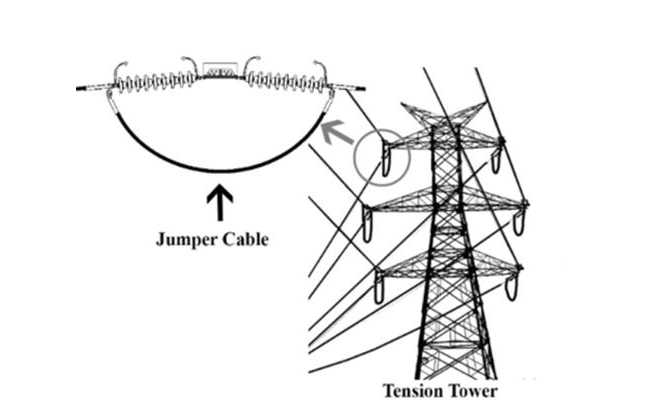
This is a working at height proposal to install a clamp at high level on the pylon allowing installation of the jumper connection in a safer manner. The jumper is what connects the OHL conductor from one side of the tower to the other on a tension tower.
A suspension tower has continuous conductor running though the fittings but on tension towers the angle of the line changes and the fitting changes the conductor is cut and joined with a jumper cable for continuous electrical flow.
The tool is temporary and fitted to the gun end and will allow for the jumper cable to be measured more accurately. The lashing is 2 handed task whereas this solution once fitted allows the operative to carry out the task of measuring the jumper length with 1 hand.
The contractor have raised this initiative on their own my contributions app to get feedback from others within the business and buy in from their innovations department to develop this prototype for trial on site. This initiative has the potential to make the jumpering process more accurate and to make the task easier for one person to carry out.
By using the new clamp and attaching it to the pre bolted jumper lug the operative can then feed the wire conductor through the hollow side of the clamp to the desired jumper depth, once at correct jumper depth the operative can then mark the conductor using the slit on the clamp. The wire can then be released from the clamp and slid out and cut at the mark. Once cut it can then be prepped for pressing the jumper lug on to the cut and greased conductor. The pressing operation can then be started.
Once pressing is complete the jumper lug can then be connected to the gun end jumper palm and tightened up to spec. The current method for marking the jumper conductor is by using a lashing rope on the conductor and sliding it up and down to the desired depth, this can be a little more awkward as you have to try hold it in line with the jumper lug, unlike the proposed jumper clamp you slide it through the hollow tube which would naturally be in line with your pre attached jumper lug.
Did you find this article helpful?
Please rate this article

Loading...


